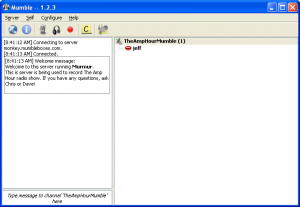
This page describes how we will communicate with you while “The Engineering Commons” is being recorded. You should have a set of headphones and a microphone handy as you prepare to record.
We use an open-source program called Mumble to talk with each other over the internet. One of the advantages of Mumble, in comparison to more familiar tools (like Skype), is that it allows us to record each person’s audio track as a separate file. This helps greatly in editing the podcast.
(Hint: You can click on any of the screenshots below to view a larger image.)
Step 1: Installing Mumble
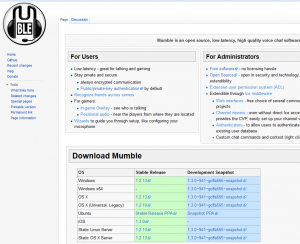
A. Go to the Mumble site (mumble.info) and download the Mumble client for your particular operating system (Windows will be used as an example). Please use a “stable” release.
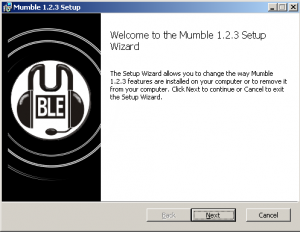
B. Open the downloaded file and follow the installation dialog.
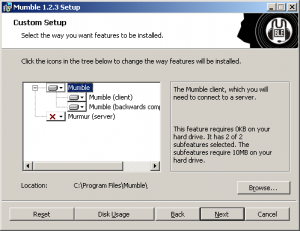
C. Do not install Murmur, that is the server side application. It is not needed.
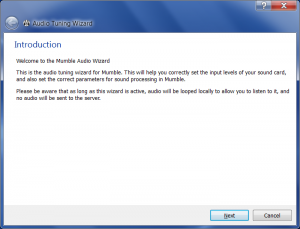
D. Open the newly-installed Mumble program. An “Audio Wizard” screen may pop up. Click on ‘Cancel’ to close this Audio Wizard window, as we will return to it later.
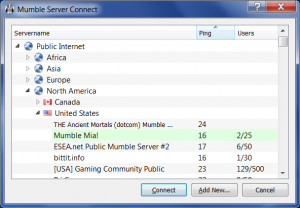
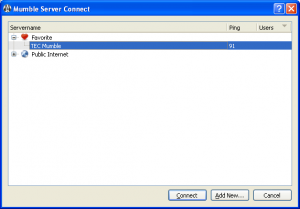
E. You should now see a window titled ‘Mumble Server Connect.’ (You can click the triangle located to the left of ‘Public Internet’ to collapse and hide information about public servers. We will not be using those servers.)
F. If you do not see a window titled ‘Mumble Server Connect,’ you are probably looking at the main Mumble window, as shown below. To open the connection dialogue, click on the globe icon, or press Ctrl-O, or select ‘Connect’ from the ‘Server’ menu.
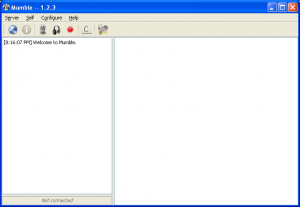
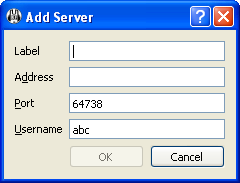
G. At the bottom of the ‘Mumble Server Connect’ window, click on ‘Add New…’ That will bring up the ‘Add Server’ dialog.
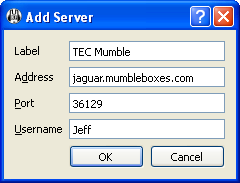
H. Enter the information for our server, then click ‘OK’:
- Label: TEC Mumble
- Address: jaguar.mumbleboxes.com (or 66.228.56.174)
- Port: 36129 (be sure to update this value!)
- Username: <YOUR NAME>
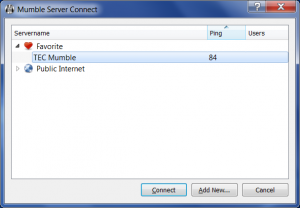
I. If you’ve entered our server information correctly, you should now see an entry for ‘TEC Mumble’ as a ‘Favorite’ in the connection dialog.
J. Although the software is pinging our Mumble server to confirm access, you are not yet able to talk with us. Before you connect to the server, we need you set up your microphone and headset.
Step 2: Audio Settings
A. Go to the “Settings” Menu:
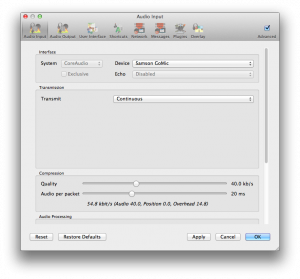
OSX: Select the “Mumble” menu, then the “Preferences” selection.
B. If not already highlighted, select the “Audio Input” option.
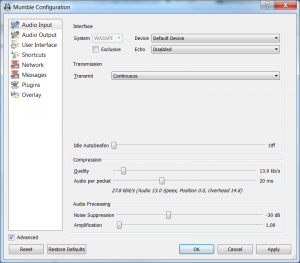
C. If using Windows or Linux, click on the “Advanced” check box located in the lower left hand corner of the configuration pane. This opens up all of the available options.
D. Your screen should now look something like this:
E. Make the following selections and/or adjustments:
- Device: Choose the appropriate input and output devices. Please use a decent microphone and a set of headphones. If we sent you a microphone, look for the “Microphone (Samson GoMic)” option from the list.
- Echo: Disabled
- Transmit: Continuous
- Idle AutoDeafen: Off
- Compression:
- Quality: 96 kb/s (or whatever is the highest setting/farthest the slider will go to the right)
- Audio per packet: 20 ms
- Audio Processing:
- Noise Suppression: Minimum of -30 dB
- Amplification: Slide all the way to the left, it should be set to 1.00.
NOTE: You must hit “Apply” or “OK” for the new settings to take effect. Hitting “OK” will also close the configuration dialog. With this configuration in place, you should sound great and we will have minimum setup once we connect to the server.
Step 3: Connect
A. If you are not looking at it already, find the ‘Mumble Server Connect’ screen. You can bring it up from the main Mumble screen by clicking on the globe icon, typing Ctrl-O, or finding ‘Connect’ under the ‘Server’ menu.
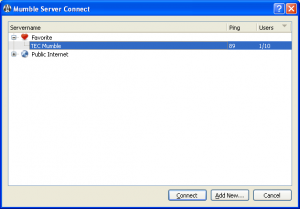
B. If one or more hosts are already connected to the Mumble server, you will see a number such as “1/10” in the Users column. The first number indicates the number of people connected to our server, and the second number is the max number of people that can connect at one time.
C. Click on the line labeled ‘TEC Mumble’ to select the entry. Now click on the ‘Connect’ button at the bottom of the window. If you get a message asking if you accept a certificate, click on the ‘Yes’ button.
D. You may get a message that says “Wrong password.” You should have received the password via email from one of the hosts. Type that password in now.
E. The connection dialog should disappear, and you should see at least one “mouth” icon appearing in the main program window, under the heading ‘The Engineering Commons Mumble Server’.
F. If somebody else is online, say “hello” and let us know if you can hear what is being said on the other end of the connection. If you can’t hear anything, type a message into the lower left hand corner of the main program screen. This will send a text notification that can be seen by the other participants, and we will work to get your audio functioning properly.
Step 4: Relax and Enjoy
We’re delighted to have you join us as a guest on The Engineering Commons. Thanks so much for helping us produce another great podcast episode!
